Setting up a home theater isn’t just about unpacking a soundbar and calling it a day. Between running speaker wire through walls, calibrating audio zones, mounting projectors at precise throw distances, and syncing smart home integrations, there’s a lot that can go sideways. Professional home theater setup services handle the technical heavy lifting, wiring, mounting, calibration, and equipment integration, so homeowners get cinema-quality results without the trial-and-error. This guide breaks down what these services include, what they cost, and how to decide if hiring a pro makes sense for your space.
Table of Contents
ToggleKey Takeaways
- Professional home theater setup services handle wiring, mounting, calibration, and equipment integration to deliver cinema-quality results without trial-and-error installation.
- DIY installations work for basic TV mounts and soundbars, but complex projects like in-ceiling speakers, projector mounts, and audio calibration require specialized tools, expertise, and knowledge of local codes.
- A reputable home theater setup service begins with a thorough room assessment to determine speaker placement, cable paths, and equipment compatibility before any physical installation begins.
- Home theater installation costs range from $150–$400 for basic setups to $5,000–$15,000+ for high-end custom builds with Atmos systems, motorized screens, and smart home integration.
- Choose CEDIA-certified installers with verified references, detailed written contracts, and transparent pricing to ensure quality workmanship and reliable post-install support.
What Is a Home Theater Setup Service?
A home theater setup service is a professional installation that covers everything from equipment placement and wiring to audio calibration and system programming. These aren’t just delivery teams that drop off boxes, installers assess room acoustics, mount displays or projectors, run speaker cables through walls or ceilings, configure AV receivers, and fine-tune sound levels for balanced audio.
Most services handle both the physical installation and the software side. That includes programming universal remotes, integrating streaming devices, syncing smart lighting or motorized shades, and setting up multi-zone audio if the system extends beyond one room. For dedicated home theater rooms, installers may also recommend or coordinate acoustic treatments like wall panels or bass traps, though that typically falls outside the base installation package.
Services range from basic setups, mounting a TV, installing a soundbar, and connecting a streaming stick, to full custom builds with in-wall or in-ceiling speakers, hidden wiring, rack-mounted equipment, and centralized control systems. The scope depends on the equipment, the room layout, and whether the project involves new construction, a retrofit, or a simple equipment upgrade.
Why Hire a Professional vs. DIY Home Theater Installation
DIY is viable for straightforward setups: wall-mounting a TV with a basic bracket, connecting a soundbar via HDMI ARC, and plugging in a streaming device. Those projects require minimal tools, a stud finder, drill, level, and maybe a cable concealer kit, and most homeowners can knock them out in an afternoon.
But complexity scales fast. Running speaker wire through finished walls without visible conduit means cutting access holes, fishing cables through studs or joists, and patching drywall afterward. In-ceiling speaker installs require locating joists, cutting precise holes without hitting electrical or HVAC runs, and securing speakers with mounting brackets. Projector installations demand exact throw distance calculations, ceiling mount reinforcement (sometimes requiring blocking between joists), and proper HDMI cable runs, often 25 feet or longer, where signal loss becomes a real issue without active cables or fiber optic solutions.
Calibration is another hurdle. Modern AV receivers include auto-calibration tools like Audyssey or Dirac, but they’re starting points, not finish lines. Pros use sound level meters, measure room modes, adjust crossover frequencies, and tweak delay settings so audio arrives at the listening position in phase. They also navigate the maze of HDMI-CEC conflicts, 4K HDR passthrough issues, and Dolby Atmos height channel assignments, problems that send DIYers down forum rabbit holes for hours.
Safety and code compliance matter, too. If the install involves new electrical circuits for dedicated outlets (home theaters often need 20-amp circuits to avoid tripped breakers), that’s a job for a licensed electrician in most jurisdictions. Some municipalities require permits for in-wall wiring or structural modifications like ceiling-mounted projector blocking. Pros know local codes and carry liability insurance if something goes wrong. For insights on smart home device integration and equipment reviews, CNET offers detailed comparisons that help homeowners understand what installation demands different setups require.
Finally, there’s the time factor. A DIY 5.1.2 Atmos setup with in-ceiling heights can eat up several weekends when accounting for planning, material runs, install work, troubleshooting, and cleanup. Pros typically complete the same job in one or two days, leaving the homeowner with a dialed-in system and no leftover drywall dust.
What to Expect from Professional Home Theater Services
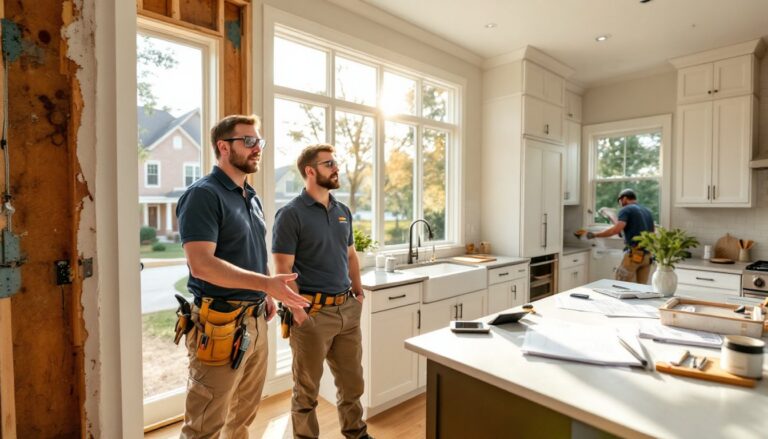
Room Assessment and Design Consultation
A good installer starts with a site visit, not a sales pitch. They’ll measure the room, note window placement and ambient light levels, check wall construction (drywall over studs vs. concrete block), and identify obstacles like ductwork or existing wiring that could complicate cable runs. They’ll ask about the equipment you already own or plan to buy, and whether you want a dedicated theater room or a multi-purpose family space.
This is when they map out speaker placement based on room dimensions and seating layout. For a standard 5.1 surround system, front left/right speakers flank the screen, the center channel sits above or below the display, and surrounds go to the sides or slightly behind the listening position. Atmos systems add height channels, either in-ceiling speakers or upward-firing modules on top of the front or surround speakers. The subwoofer location matters, too: corner placement maximizes output but can create uneven bass response, so pros often test multiple positions.
They’ll also discuss wiring paths. In new construction or unfinished spaces, running cable is straightforward. In finished rooms, installers look for access routes through basements, attics, or crawl spaces to minimize wall penetrations. If concealed wiring isn’t feasible or budget-friendly, they’ll propose alternatives like flat-profile cable raceways or wireless speaker kits for the surrounds (though wireless still requires power outlets near each speaker).
Expect honest input on equipment compatibility and room limitations. If the room is too small for a projector with the desired screen size, a pro will say so. If the existing AV receiver lacks enough channels for the planned speaker count, they’ll recommend an upgrade or a workaround. This consultation phase prevents expensive mistakes and sets realistic expectations.
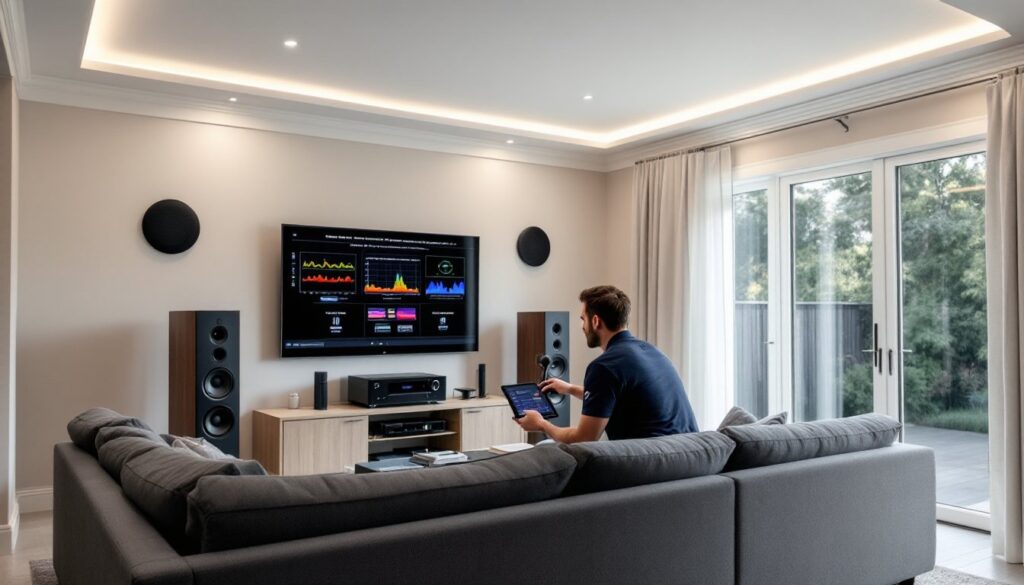
Equipment Installation and Calibration
Once the plan is set, installers handle the physical work. TV or projector mounts get anchored into studs or blocking, never just drywall anchors for heavy displays. Projector mounts often require a ceiling joist or added 2×4 blocking between joists for secure attachment, especially for heavier models. Screen installation follows, whether it’s a fixed-frame, motorized drop-down, or ambient-light-rejecting (ALR) screen for rooms with windows.
Speaker installation varies by type. Bookshelf or tower speakers get positioned and leveled. In-wall or in-ceiling models require cutting holes with a drywall saw or hole saw, fishing speaker wire to each location, and securing the speakers with rotating clamps or mounting brackets. Installers test each speaker individually before closing up walls or moving furniture back into place.
Cable management is part of the install. HDMI cables connect source devices (streaming boxes, Blu-ray players, game consoles) to the AV receiver, and from the receiver to the display. For longer runs or 4K 120Hz signals (common with gaming setups), installers use certified Ultra High Speed HDMI cables or optical HDMI solutions to avoid signal degradation. Speaker wire runs are labeled at both ends and secured with banana plugs or spade connectors for clean, reliable connections.
After wiring, the calibration begins. Installers configure the AV receiver’s speaker settings, size (large or small), crossover frequency, distance from the listening position, and level (volume trim). They run the receiver’s auto-calibration routine using a measurement microphone placed at the primary seating position, then fine-tune the results manually. Video calibration may include adjusting display settings for brightness, contrast, color temperature, and motion processing to match the room’s lighting and content preferences.
Final steps include programming remotes or control systems, verifying HDMI-CEC or IP control for integrated devices, and walking the homeowner through operation. Many installers offer follow-up support for software updates or minor adjustments as the user settles into the system. If you’re comparing installation options or pricing, local home theater pros provide quotes and service details specific to your area.
How Much Does Home Theater Setup Service Cost?
Pricing varies widely based on system complexity, room size, and labor requirements. Basic setups, mounting a TV, connecting a soundbar, and running a few cables, typically run $150 to $400. Mid-tier installs with a 5.1 or 7.1 surround system, in-wall wiring, and calibration generally fall in the $800 to $2,500 range. High-end custom builds with in-ceiling Atmos speakers, motorized screens, rack-mounted equipment, smart home integration, and acoustic treatments can reach $5,000 to $15,000 or more, depending on equipment and labor hours.
Labor rates for AV installers average $75 to $150 per hour, though licensed electricians charge separately if new circuits or outlet installations are needed. Some companies charge flat rates per device, $100 to $200 per speaker for in-wall or in-ceiling installs, $200 to $500 for projector mounts, and $150 to $300 for TV mounts depending on size and wall type (drywall vs. brick or concrete).
Material costs add up. Speaker wire (14- or 16-gauge) runs about $0.15 to $0.50 per foot. HDMI cables range from $20 for basic 6-foot cables to $100+ for certified 25-foot or fiber optic runs. Conduit, wall plates, and cable management accessories add another $50 to $200 depending on the install.
Get at least three quotes and ask for itemized breakdowns. Some installers bundle labor and materials: others charge separately. Confirm what’s included, does the price cover calibration, cable concealment, and programming, or just the physical mounting? For broader home improvement budgeting and contractor estimates, HomeAdvisor offers cost calculators and project planning tools to compare local pricing.
Choosing the Right Home Theater Installation Company
Start with credentials. Look for installers certified by organizations like CEDIA (Custom Electronic Design & Installation Association) or manufacturers like Lutron, Control4, or Crestron. Certification indicates training in current standards, equipment compatibility, and best practices. Licensed electricians should handle any work involving new circuits or outlets, confirm they’re insured and bonded.
Check reviews and ask for references. A quality installer should have a portfolio of completed projects, ideally with photos showing before/after shots and clean cable management. Talk to past clients about communication, punctuality, problem-solving, and post-install support. Were there hidden costs? Did the system work as promised after handoff?
Ask specific questions during the quote process. What brands do they recommend and why? How do they handle cable runs in finished spaces? Do they provide written diagrams or documentation of the wiring layout? Will they return for adjustments or troubleshooting after the install? How do they stay current with evolving formats like HDMI 2.1, eARC, or new streaming codecs?
Beware of installers who push specific brands without explaining fit for the space, or who gloss over potential challenges like load-bearing walls, fire-rated barriers, or difficult wire paths. A good pro discusses obstacles upfront and offers practical solutions.
Finally, get everything in writing, scope of work, equipment list, labor hours, material costs, timeline, payment schedule, and warranty terms. Most reputable installers offer at least a one-year warranty on labor, with manufacturer warranties covering equipment. Clear contracts prevent disputes and set expectations for both sides.