Thinking about adding a tiny house to your property? Maybe you want guest quarters, a rental unit, or a workshop. Whatever the reason, the answer to “can I do this?” depends on a lot more than just square footage. Zoning regulations, building codes, and utility hookups can make or break your plans before you even pour a foundation. This guide cuts through the red tape and shows you exactly what you’ll need to check, file, and install before your tiny house becomes a legal, livable structure.
Table of Contents
ToggleKey Takeaways
- Before placing a tiny house on your property, verify zoning regulations with your local planning department, as codes vary widely and even differ from neighbor setups—get everything in writing to avoid costly mistakes.
- Zoning approval is only the first step; you’ll also need building permits, foundation choices (wheels vs. permanent), and compliance with electrical, plumbing, and septic codes, with total permitting timelines ranging from 2–12 weeks.
- Utility connections for water, sewer, and electrical systems can cost $3,000–$11,000+ combined, so budget for licensed professionals and trenching work before construction begins.
- Tiny houses on wheels sidestep some building codes but face RV occupancy restrictions and financing challenges, while permanent foundation tiny houses build equity more easily but require proper anchoring and may increase property taxes.
- Even if zoning and codes permit your tiny house, HOA restrictions and neighbor concerns can halt your plans, so review CC&Rs early and communicate with nearby residents to prevent formal objections.
Understanding Zoning Laws and Tiny House Regulations
Zoning laws are the first hurdle, and often the tallest one. Most municipalities define what can be built on residential property through zoning codes that specify minimum square footage, setback requirements, and allowable uses. A tiny house may not fit the legal definition of a “dwelling unit” if it’s under your jurisdiction’s minimum square footage requirement, which can range from 120 to 1,000 square feet depending on the area.
Start by contacting your local planning or zoning department. Ask specifically about:
- Minimum dwelling size for primary and accessory structures
- Accessory Dwelling Unit (ADU) regulations, which many jurisdictions have updated in recent years
- Lot coverage limits (the percentage of your lot that can be covered by structures)
- Setback requirements from property lines, streets, and existing structures
Some cities have created tiny house-friendly zoning or specific ADU ordinances that allow smaller secondary dwellings. Others explicitly prohibit structures under a certain size. California, Oregon, and parts of Texas have relatively progressive ADU codes: more rural or conservative jurisdictions may not.
Don’t assume your property is zoned for what you want to do. Even if your neighbor has a similar setup, codes change and enforcement varies. Get it in writing from the zoning office before spending a dime.
Permits and Building Codes You’ll Need to Navigate
If zoning allows your tiny house, you’ll still need building permits to ensure the structure meets health and safety standards. The International Residential Code (IRC) Appendix Q covers tiny houses on foundations, setting minimums for ceiling height (6’8″ in common areas, 6’4″ in bathrooms and kitchens), egress windows, loft access, and emergency escape routes.
You’ll likely need permits for:
- Building permit (structural, electrical, plumbing, mechanical)
- Electrical permit if you’re running new service or a subpanel
- Plumbing permit for water supply and waste connections
- Septic permit if you’re not connecting to municipal sewer
Each permit triggers an inspection at various stages: foundation or pier placement, framing, rough-in (electrical/plumbing before walls close up), insulation, and final. Miss an inspection window and you may have to tear out finished work to prove compliance.
Permit costs vary widely, anywhere from $500 to $3,000+ depending on the scope and jurisdiction. Budget time, too. Permit approval can take 2–12 weeks depending on the complexity and your local department’s workload.
If your tiny house arrives pre-built, ask the manufacturer if it’s RVIA-certified (Recreational Vehicle Industry Association) or NOAH-certified (National Organization of Alternative Housing). RVIA certification may help in some jurisdictions but won’t satisfy building codes everywhere. Some inspectors treat certified units more favorably: others require full plan review regardless.
Distinguishing Between Tiny Houses on Wheels vs. Permanent Foundations
The foundation choice drastically changes your legal and logistical path.
Tiny houses on wheels (THOWs) are often classified as RVs, not dwellings. This can sidestep some building codes but opens a different set of restrictions:
- Many zoning codes prohibit long-term RV occupancy on residential lots.
- You may need to register it as a vehicle, even if it never moves.
- Securing adequate tie-downs for wind and seismic loads is critical but often overlooked.
- Financing and insurance can be trickier: lenders treat THOWs more like vehicles than real estate.
Interested in a tiny house delivered and installed by a third party? Some startups now install prefab tiny houses as rental units, handling permits and utilities in exchange for a share of rental income.
Permanent foundation tiny houses are treated like any other accessory structure or ADU. They must meet IRC or local building codes, which means:
- Foundation options include concrete slab, crawlspace, or pier-and-beam (consult a structural engineer if your soil has expansive clay or high water table).
- You’ll anchor the structure to the foundation per code, typically with hurricane straps or anchor bolts at 4–6 feet on center.
- Property taxes may increase since you’re adding assessed value.
- Resale and appraisal are easier: the tiny house becomes part of the real property.
Choose based on your long-term plans. If you might move or want flexibility, wheels make sense, but check local RV parking ordinances first. If you’re building equity or adding rental income, go with a foundation.
Utility Connections: Water, Sewer, and Electrical Requirements
A structure isn’t livable without utilities, and code compliance depends on safe, legal hookups.
Electrical: You’ll need a dedicated circuit or subpanel fed from your main house or a new service if the tiny house is far from the main panel. NEC (National Electrical Code) requires GFCI protection in kitchens, bathrooms, and outdoor outlets. Hire a licensed electrician unless you’re confident pulling permits and passing inspection yourself. Expect to trench conduit if running underground, UF-B cable in conduit is typical, buried at least 18 inches deep (24 inches if not in conduit). Budget $1,500–$4,000 depending on distance and whether you need a new meter base.
Water: Tap into your existing water line with a tee and run PEX or copper supply lines in a trench below frost depth (varies by region: check your local frost line, typically 12–48 inches). You’ll need a shutoff valve at the main and another at the tiny house. If the run is long, consider insulating the lines or using heat tape in cold climates. A licensed plumber should handle the tap and pressure test. Cost: $800–$2,500.
Sewer/Septic: Connecting to municipal sewer is straightforward if your lot has access, hire a plumber to tie in and get a permit. If you’re on septic, your system must be sized for the additional load. A standard septic system is rated by bedroom count: adding a tiny house (even with one bedroom) may require a percolation test and system upgrade. In some areas, a separate composting toilet or greywater system is legal for ADUs, check local health department rules. Septic work: $500–$5,000+ depending on whether you need a new leach field.
Don’t forget gas if you’re installing a tankless water heater or range. Propane tanks are common for off-grid or remote setups: natural gas requires a licensed plumber to extend your service line.
HOA Restrictions and Neighbor Considerations
Even if zoning and codes say yes, your homeowners association (HOA) may say no. Many HOAs prohibit accessory structures, limit building materials or colors, or outright ban tiny houses and RVs on residential lots. Review your CC&Rs (Covenants, Conditions, and Restrictions) before you design or order anything.
If your HOA has an architectural review committee, submit plans early. Include:
- Site plan showing setbacks and lot coverage
- Elevation drawings or renderings
- Material and color samples matching neighborhood standards
Some HOAs are flexible if your tiny house looks cohesive with the main home. Others won’t budge.
Even without an HOA, consider your neighbors. A tiny house close to a property line can block views, create privacy concerns, or change the character of the block. Informal conversations before you file permits can head off formal complaints later. If your tiny house will be a rental, address parking, noise, and trash upfront.
In some jurisdictions, neighbors within a certain radius must be notified of your permit application and have a window to file objections. A little goodwill goes a long way.
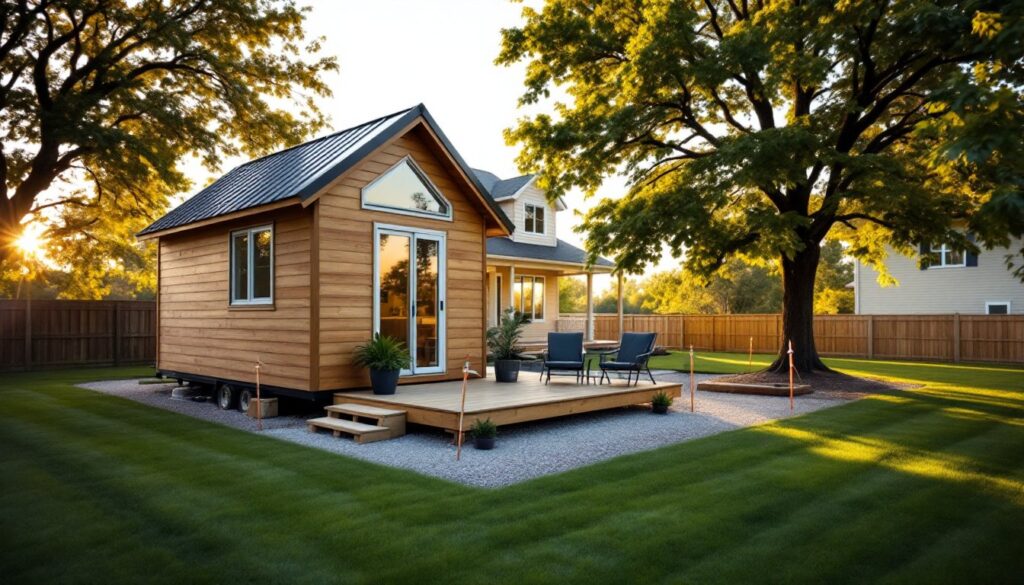
Best Placement Strategies for Your Tiny House
Where you site your tiny house affects everything from utility costs to livability and code compliance.
Setbacks: Most codes require structures to sit a minimum distance from property lines, commonly 5–10 feet for sides and rear, 15–25 feet from the street. Verify these with your zoning office and measure carefully. Use a measuring tape and stakes to mark corners before any site work.
Drainage and grading: Place your tiny house on high ground to avoid water pooling underneath. If your lot slopes, you may need to cut and fill or install a retaining wall. Ensure positive drainage away from the foundation, at least a 1% slope (1 inch drop per 8 feet). For more guidance on advanced site work and grading, check Fine Homebuilding for detailed tutorials.
Access and utilities: Site close enough to your main house to keep utility runs affordable but far enough to maintain privacy and meet setbacks. Consider vehicle access if you’ll need to deliver materials, remove a septic tank, or sell the property later. A narrow side yard may save money on trenching but limits future flexibility.
Sun and wind: Passive solar orientation can cut heating and cooling costs. In northern climates, maximize south-facing windows: in hot regions, minimize west-facing glass and add overhangs. Prevailing wind direction matters for entry doors and venting.
Future use: If you’re building for resale or rental income, choose a spot that feels like a separate “unit” rather than an awkward backyard shed. Privacy, a small patio or deck, and dedicated parking all boost appeal.
Conclusion
Putting a tiny house on your property is absolutely doable, but it’s not as simple as dropping a structure in the backyard and calling it a day. Zoning, permits, foundation type, and utility hookups all require careful planning and honest conversations with your local building department. Do the assignments upfront, budget for inspections and professional help where needed, and you’ll end up with a legal, livable space that adds value and flexibility to your property.